
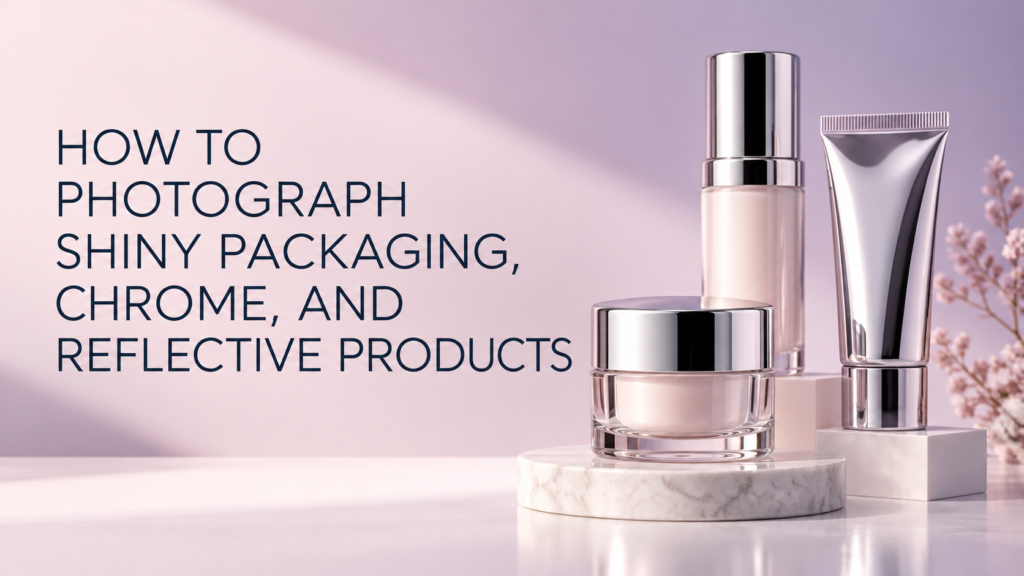
Shiny and reflective products are photographed by controlling what the surface reflects—not by trying to remove every reflection. Chrome, metallic packaging, glossy plastic, foil, and polished glass behave like mirrors. A successful product photo uses large diffusion surfaces, carefully placed dark and light cards, controlled camera angles, and precise retouching to describe the product’s shape without distracting glare.
This matters for beauty, skincare, cosmetics, wellness, and lifestyle products because reflective caps, pumps, tubes, compacts, and labels can easily show the camera, the studio, or uneven highlights. The goal is a clean, intentional reflection pattern that makes the packaging look accurate and dimensional.
Why Are Shiny Products Difficult to Photograph?
A matte product primarily reveals the light falling on it. A reflective product also reveals its surroundings. Move a white card a few inches and a new highlight may appear across a chrome cap. Move the camera and the front label may become darker, distorted, or partly hidden by glare.
Three problems usually need to be solved at the same time:
- Shape: highlights and dark edges must explain the product’s form.
- Legibility: labels, embossed details, and finishes must remain readable.
- Accuracy: the photograph should represent the real color and material rather than turning silver into white or black.
That is why reflective product photography is usually built gradually. The photographer establishes the camera position first, then adjusts each light, flag, and reflection card while reviewing the result at high magnification.
How Do Photographers Control Reflections?
The short answer: photographers create a simple environment for the product to reflect. Large white diffusion panels produce smooth highlights, while black cards create deliberate edge definition. Flags block unwanted reflections, and the camera is positioned where it will be least visible.
Use large diffusion instead of a small hard light
A small bare light often produces a bright hotspot surrounded by abrupt falloff. A large softbox or diffusion frame creates a broader, smoother band of light. On cylindrical bottles and tubes, that band helps communicate curvature. The size, distance, and angle of the diffusion determine whether the highlight looks elegant or overwhelming.
Build edges with black and white cards
A reflective silver package can disappear against a white background if every surface reflects white. Narrow black cards placed outside the frame can create dark lines along the product’s edges. White cards can open a dark area or add a controlled highlight. These cards are not random fixes; they are part of the lighting design.
Change the angle before adding more equipment
The camera angle affects both the visible shape and the reflected environment. A slight change in product rotation may remove the camera reflection from a chrome cap while keeping the label square. For e-commerce views, consistent angles are especially important. Our guide to product photography angles explains how different views support product understanding.
What Lighting Setup Works for Chrome and Metallic Packaging?
There is no single universal setup, but a controlled starting arrangement often includes a stable camera, one or two large diffusion surfaces, white fill cards, black flags, and a background light if separation is needed. The product is cleaned, aligned, and secured before lighting adjustments begin.
- Lock the camera position and choose the final crop.
- Place a large diffusion panel beside or above the product.
- Rotate the product until the main highlight supports its shape.
- Add black cards for clean edges and white cards for open shadows.
- Check the label, cap, base, and reflective seams separately.
- Capture additional frames when different parts need different lighting.
Highly reflective objects are sometimes photographed as a controlled composite. One frame may produce the best label, another the cleanest cap, and another the most accurate edge. Combining those frames is not a substitute for good lighting; it is a precise way to solve competing reflection requirements.
How Should Glossy Beauty Packaging Be Prepared?
Preparation is unusually visible on shiny surfaces. Dust, fingerprints, fine scratches, adhesive residue, and uneven labels catch specular light. Before the product reaches the set, inspect each sample and select the cleanest package. Wear gloves where appropriate, use safe cleaning materials, and keep a blower and lint-free cloth nearby.
For cosmetics and skincare, also check pump orientation, cap alignment, fill level, label centering, and the appearance of product through clear sections. A clean package reduces retouching and protects the realism of the final image.
Can You Remove All Glare in Product Photography?
Removing every highlight is rarely the best goal. A glossy product without any specular reflection can look flat, matte, or digitally altered. The useful question is whether each reflection explains the material and shape or distracts from the product.
Polarizing filters can reduce certain reflections, especially on nonmetallic surfaces, but they do not solve every chrome or metallic reflection. Cross-polarization can be useful for specific technical images, yet it may remove the sheen that customers need to understand the finish. The technique should match the purpose of the image.
How Do Background Choices Affect Reflective Products?
The background changes more than the area behind the object. Its color and brightness may appear inside the product’s reflections. A white background can work well for marketplace and catalog images, but chrome edges may need darker cards to remain visible. A colored background can create an attractive campaign image, although color contamination must be controlled on neutral metal and clear packaging.
For more context, compare the practical guidance in when product photos should use a white background and how to choose a product photography background.
What Shots Should a Brand Request?
A reflective product usually needs more than one technically correct image. The final shot list should reflect how customers evaluate the item and where the images will appear.
- A clear front-facing e-commerce image with a readable label
- Side and back views when packaging information matters
- A detail image of the finish, cap, pump, closure, or embossed element
- A scale or in-hand view when dimensions are difficult to judge
- A styled hero image for launches, campaigns, or collection pages
- Vertical and horizontal crops for advertising and social channels
For standardized listings, e-commerce product photography focuses on clarity and consistency. For campaign imagery, studio product photography can use reflections more creatively while keeping the package believable.
What Should Retouching Correct?
Retouching may remove temporary dust, fingerprints, support tools, sensor spots, or minor surface distractions. It can also balance a highlight assembled from multiple captures. It should not silently redesign the package, change the product color, erase intentional texture, or make a reflective material appear physically impossible.
A practical approval process compares the retouched image with the real product and the intended sales channel. This helps protect color, label accuracy, and customer expectations.
Frequently Asked Questions
Is a light tent enough for reflective product photography?
A light tent can simplify reflections for small products, but it offers less precise control than individual diffusion panels and flags. It may also make every surface uniformly bright, reducing edge definition.
Should chrome products be photographed on black or white?
Either can work. White backgrounds support clean catalog images, while dark backgrounds can emphasize highlights and shape. The product’s edge separation and final channel requirements should guide the choice.
Why does a metallic label look black in photos?
It is reflecting a dark part of the studio or the camera position. Changing the label angle or placing a controlled white reflection in that area usually solves the problem.
Can reflective packaging be photographed remotely?
Yes. Brands can ship products to a studio and approve a shot list, styling direction, and reference images before production. Clear packaging samples and color references are helpful.
Plan Reflective Product Images Around Their Final Use
Reflective product photography works best when the required angles, backgrounds, crops, and label priorities are defined before the shoot. If your beauty, skincare, cosmetics, wellness, or lifestyle product includes chrome, foil, glass, or glossy packaging, contact Picture Your Products to discuss the images your product page or campaign needs.