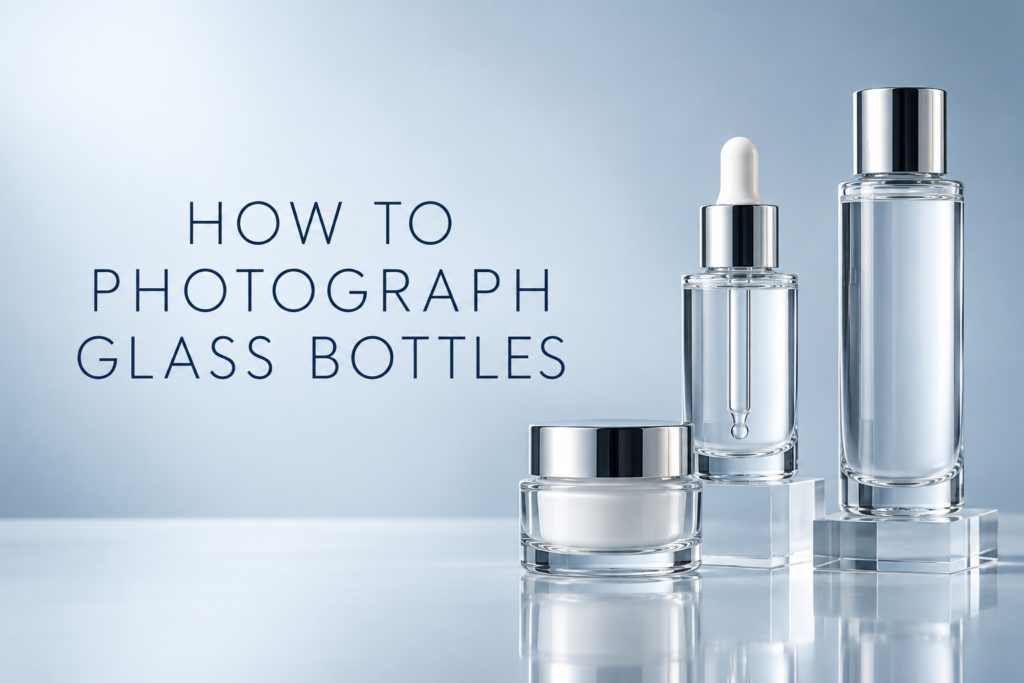
You cannot photograph glass without any reflection; you photograph it by controlling what the glass reflects. Large diffused light sources, black and white cards, careful camera placement, and separate exposures turn random glare into clean gradients that describe a bottle’s shape.
The goal is not to make glass invisible. It is to keep the edges, contents, label, cap, and material readable while removing distracting reflections from the room, camera, and crew.
Why does glass reflect the studio?
Glass combines reflection, refraction, and transmission. Curved bottles see a wide area around them, so a small bright source becomes a harsh stripe while the camera and dark room appear elsewhere. Build a controlled environment for the bottle to reflect.
Start with a large diffusion surface
Place diffusion material between the light and product to create a broad, smooth highlight. Move the diffusion—not only the lamp—to adjust the visible gradient. For a cylindrical bottle, tall vertical sources often follow the package shape.
Define transparent edges
Use black cards outside the frame to create darker edges on bright backgrounds, or white cards to lift edges against darker sets. Small card movements can change the bottle outline dramatically.
How do you keep the label readable?
Rotate the bottle and adjust the source until glare leaves the typography. A polarizing filter may reduce some surface reflections, but it does not replace source control and may affect other finishes. Capture separate label and bottle exposures when necessary, then combine them accurately.
Control the cap, dropper, and pump separately
Metallic caps and glossy plastic reflect different parts of the set. Use flags, cards, and local light adjustments for each material. A cap that looks correct may require a different reflection than the bottle body.
How do you photograph clear liquid?
Backlight can reveal color and clarity, while side or edge lighting defines the container. Watch for bubbles, sediment, fill-line irregularities, and double edges. Clean the interior and exterior when the product allows it.
Prevent common production problems
- Wear gloves and clean the bottle immediately before capture
- Keep labels square to the camera unless perspective is intentional
- Move crew and bright clothing away from the reflective field
- Use a longer focal length when it helps reduce camera visibility
- Photograph a clean backup unit if packaging scratches easily
- Preserve believable reflections during retouching
When should you composite exposures?
Composite when one exposure cannot give the label, cap, liquid, and bottle body appropriate control at the same time. Keep the camera locked and combine exposures from the same setup. The final image should still describe the real product.
This controlled approach is part of professional studio product photography.
Frequently asked questions
Does a polarizer remove all reflections?
No. It can reduce certain reflections depending on angle and material, but direct source shaping remains essential.
Should glass bottles be photographed on white?
White can work when edge cards and gradients preserve shape. Pale labels and clear glass need deliberate separation.
Can reflections be removed entirely in retouching?
Random distractions can be cleaned, but removing every highlight makes glass look flat or synthetic. Retouching should refine intentional lighting.
Work with Picture Your Products
Picture Your Products creates product, e-commerce, beauty, skincare, and lifestyle imagery for Chicago and remote product-shipping projects. Contact the studio to plan a shoot around your products and sales channels.