
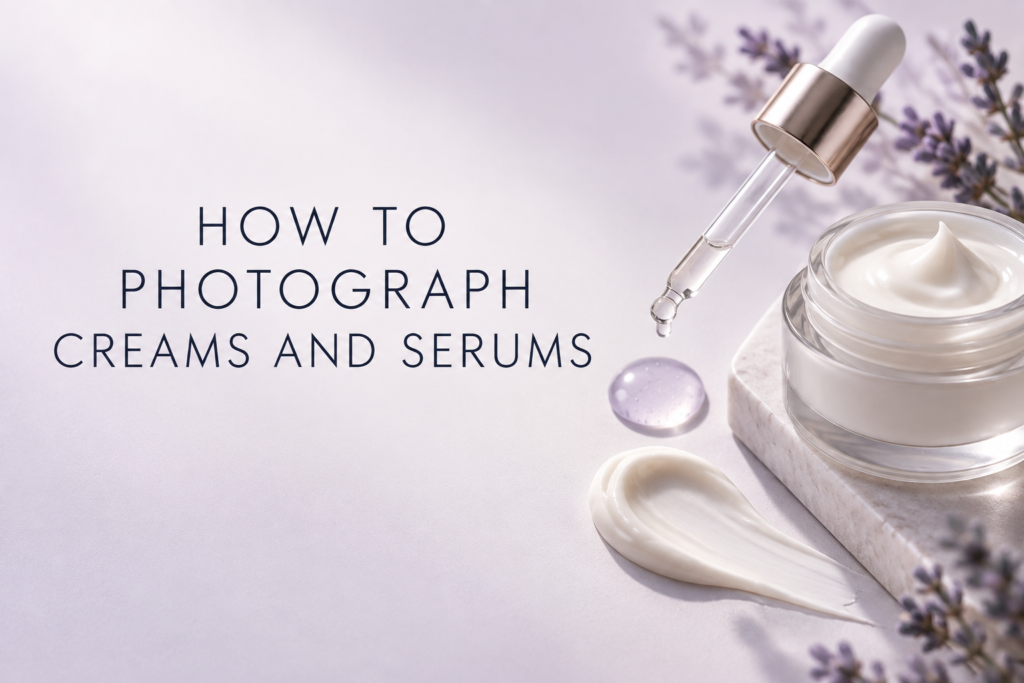
Creams and serums require different lighting and styling because they move, reflect, and hold shape differently. Creams are often photographed for body and texture; serums depend on controlled transparency, viscosity, and highlights. Treat the formula and its packaging as separate subjects, then combine them intentionally.
A useful image set shows what the product is, how the formula behaves, and how it is dispensed without making unverified claims.
How do creams and serums photograph differently?
A cream can form peaks, swipes, and sculptural ridges. A serum may form drops, trails, suspended beads, or a coating on a dropper. Dense products reveal relief with side light; transparent liquids often need transmitted or edge light.
Prepare the package before styling formula
Photograph the clean, sealed hero unit first. Use another unit for pumps, droppers, open jars, and texture work whenever possible. Clean glass, caps, threads, and label edges between setups.
How do you style a cream smear?
Choose a clean tool whose width fits the final crop. Test pressure, direction, and product amount. A single controlled gesture usually looks more deliberate than repeated corrections. Photograph promptly before the surface loses moisture.
How do you create consistent serum drops?
Use a pipette or the real dropper after testing flow. Control the surface angle and dispense height. Backlighting or dark edge cards can make a clear drop visible while broad front fill keeps the formula luminous.
Photograph the applicator
A close image of a pump, wand, spatula, or dropper answers practical questions. Show enough context to identify the product and keep formula residue intentional rather than messy.
Use motion only when it adds information
A falling drop, pour, or splash can express fluidity, but it requires timing, repeatable product, and cleanup. A static bead may explain viscosity more accurately than a dramatic composite.
Build an e-commerce sequence
- Closed package hero
- Carton and bottle or jar together
- Open applicator or closure
- Formula texture close-up
- Scale or application context
- Styled hero or collection image
For broader planning, see e-commerce product photography.
Common mistakes
- Using the only clean product for messy texture work
- Letting clear serum vanish into a bright surface
- Over-retouching texture until it looks artificial
- Allowing bubbles, dust, or dried edges to become accidental focal points
- Showing more formula movement than the real product can create
Frequently asked questions
Can a clear serum be photographed on white?
Yes, with edge control, backlight, surface choice, and contrast cards that define its boundary.
How do you keep cream looking fresh?
Style small batches, minimize handling time, control room conditions, and photograph soon after placement.
Should the texture match the amount used by a customer?
Not always, but it should remain believable and should not misrepresent the formula’s color or consistency.
Work with Picture Your Products
Picture Your Products creates product, e-commerce, beauty, skincare, and lifestyle imagery for Chicago and remote product-shipping projects. Contact the studio to plan a shoot around your products and sales channels.